🖼️ Layout
The layout is split so you do not need to jump between different pages for the same person.| Part | What you do there |
|---|---|
| Left | Choose who you are working with (three tabs: Contacts, Chat, Calls). |
| Middle | Read the conversation and send SMS. |
| Right | Open sections to edit contact info, disposition, tags, notes, appointments, SMS numbers, pipeline, and do not disturb. |
📋 Left side: the three tabs
Use the icons at the top of the left side to switch lists. Each list answers a different question.Contacts
“Who have we talked to?” — list of contacts with past activity, newest first. Search by name or number; click to open.
Chat
“Which texts were recent?” — list of SMS conversations. Search by name or number; click to open the thread.
Calls
“Which calls were recent?” — list of calls in and out. Search, then click to open that contact.
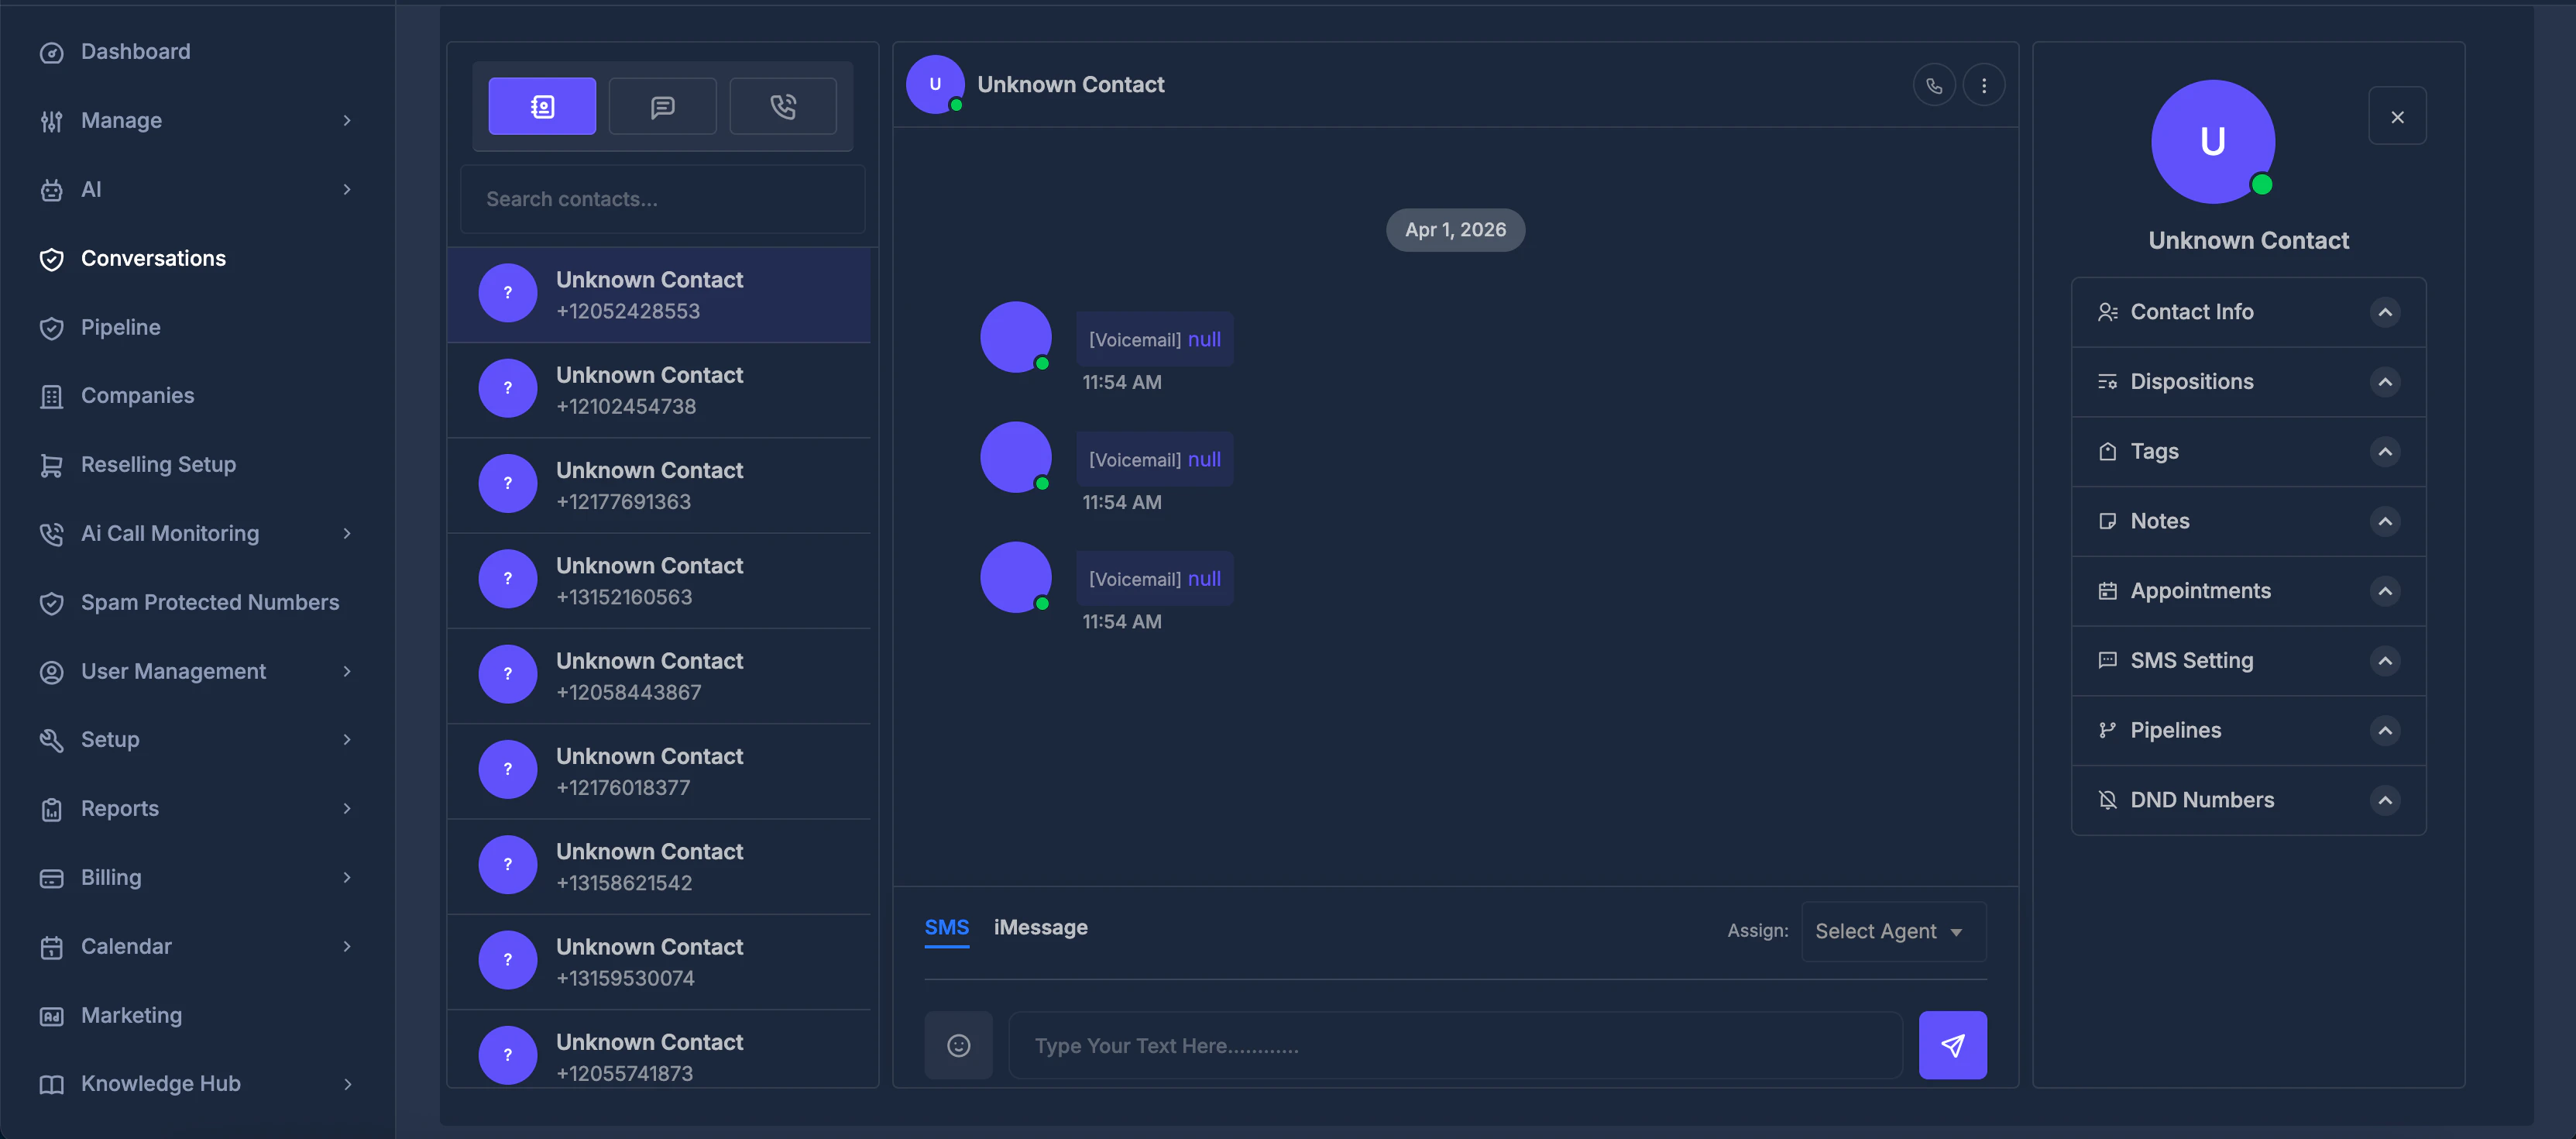
📇 Contacts tab
Contacts shows a list of your contacts, newest first. Each row shows the contact’s name and phone number, with the first letter of the name in a small circle.- Use Search contacts… at the top to filter by first name, last name, or phone number. The list updates shortly after you stop typing.
- Click a contact to load their messages and details in the middle and right areas.
- Scroll to the bottom of the list to load more contacts when there are more than fit on screen.
- If you open Conversations with a link to a specific contact, that contact is usually shown and selected automatically.

💬 Chat tab
Chat is a list of recent text message (SMS) conversations.- Each row shows the contact’s name, date and time of the last message, whether it was incoming or outgoing, and a short preview.
- Incoming and outgoing messages use different icons so you can see direction at a glance.
- Use Search SMS… to filter by contact name or phone number.
- Click a row to open that contact’s full message history and send new messages.
- Scroll down to load more conversations when you reach the end of the list.

📞 Calls tab
Calls is where you see recent phone calls (incoming and outgoing).- Each row shows the contact’s name, date and time, direction (inbound or outbound), whether the call was completed, and call length when available.
- Icons and colors distinguish incoming vs outgoing and completed vs missed or failed.
- Use Search calls… to filter by name or number.
- Click a row to open that contact; the middle panel then shows their full timeline (calls and texts together).
- Scroll to load more call records at the bottom.

📨 Middle: reading and sending
When you select a contact (from Contacts, Chat, or Calls), the middle area shows that person’s messages and call activity. This is where you read the timeline and send replies.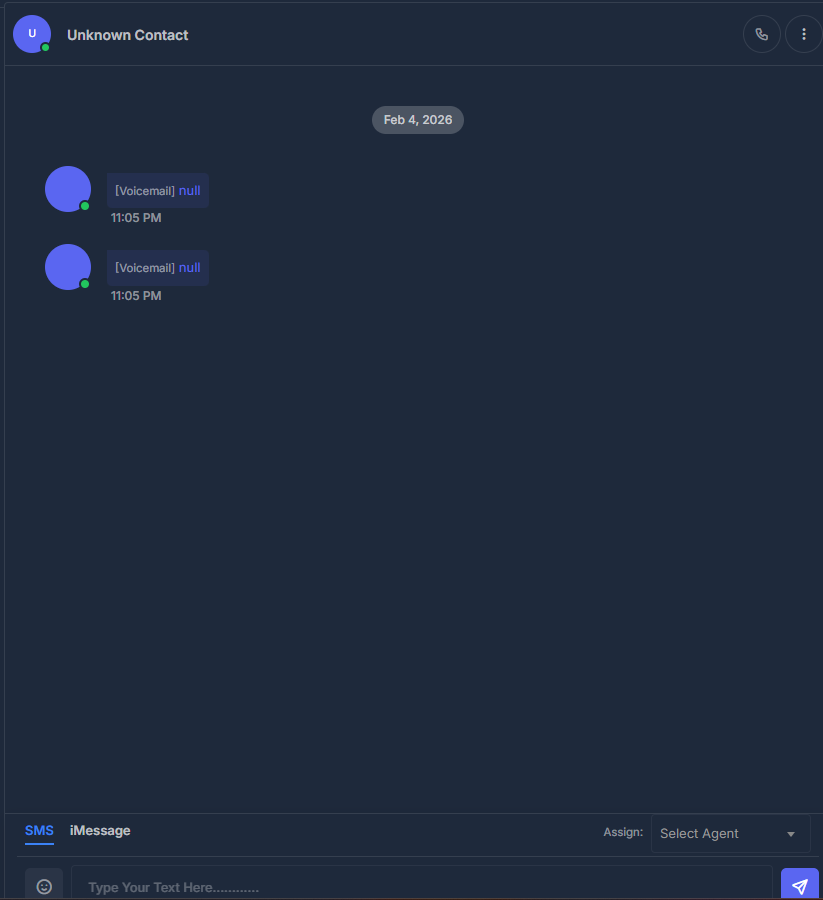
🏷️ Top row
At the top you see the contact’s avatar (initial in a circle) and name. On smaller screens, the name can act as a link or toggle for opening the right-side details. Action buttons may let you call, open contact details, open a menu (for example Edit), or close the panel on small layouts.🧵 Conversation thread
The main area shows everything in a single timeline:- Texts (SMS) and other supported message types.
- Call entries in the same flow, so you see calls and texts together.
- Grouped by date so long histories stay readable.
- Your messages vs the contact’s on opposite sides, like many chat apps.
- For calls, you see direction, status (completed or not), duration, and an audio player when a recording exists.
- Message direction (incoming vs outgoing) is always clear and may use different icons.
- Outgoing SMS can show small status hints (such as sent or delivered) when the carrier reports them.
- Times follow your account time zone, so “9 AM” matches your local view.
✉️ Sending a message
Below the timeline you see controls for sending:| Control | What it does |
|---|---|
| Platform options | Shows SMS, and may show iMessage or other labels. SMS is the mode that sends via your business numbers. |
| Assign | Assigns the contact to Company, a specific team member, Unassign. Saved for the contact. |
| Emoji | Opens an emoji picker to insert symbols into your message. |
| Text box | Where you type your message. |
| Send | Sends the message when all requirements are met. |
✅ Before Send will work — checklist
For SMS to send correctly:- A contact is selected on the left (the row is highlighted).
- The contact is not blocked by Do Not Disturb settings for texts or all channels.
- Under SMS Setting on the right, a valid From number is chosen.
- The To field (the contact’s number) is present and correct; change it under Contact Info if needed.
- You have entered some text in the box.
- While sending, Send may be briefly disabled to avoid double sends.
- If sending fails, an error message appears. If it succeeds, the box clears and your new message shows in the timeline.
📝 Right side: contact details and settings
The right side is where you manage details for the currently selected contact. Sections can usually be expanded or collapsed.
📋 Contact Info
Shows the core fields your company stores for this person (for example first name, last name, phone, email, and custom fields). Edit what you are allowed to change and click Save Changes. After a successful save:- The name and phone in the top bar of the middle area can update.
- Any related screens in the product see the same new information.
🏅 Dispositions
Dispositions are outcome labels your company defines (for example “Not Interested”, “Callback Needed”, or “Sold”). Pick the one that matches the latest interaction.- Selections often save immediately when changed.
- Your organization may use them to trigger automation or reports.
🔖 Tags
Tags act as flexible labels like “VIP” or “High Priority”.- Add or remove tags with the multi-select control.
- Click Save Tags so changes are stored.
- Other parts of the system may rely on tags for filters or automation.
🗒️ Notes
Notes are internal—they are not sent to the contact.- See existing notes with previews and last-updated times.
- Use Add Note (or similar) to create new notes.
- Use Edit to adjust an existing note.
- After saving, the list refreshes, usually with the newest notes first.
📅 Appointments
Shows appointments connected to this contact.- Typical fields: date, time, calendar, duration, and status.
- You may see View actions for full details or links to join online meetings.
- Use Add to book new appointments when calendar integration is active.
🏗️ Pipeline
The Pipeline section links this contact to a pipeline and stage (for example New → Qualified → Won).- Choose a pipeline, pick the right stage, and save.
- Updates here help you see where this person is in your process.
- In many setups, changing the stage can also affect reports or automations.
📲 SMS Setting
SMS settings control which number you use when sending texts from Conversations.- From — choose a business number that is registered and approved for outbound SMS. Only valid numbers appear.
- To — shows the contact’s phone number as read-only. If it is wrong, edit it under Contact Info, not here.
🚫 DND (Do Not Disturb )
Do Not Disturb settings let you respect contact preferences and regulations.- DND all channels — blocks all supported outbound channels for this contact.
- Or choose specific channels: Emails, Text messages, Calls & voicemails.
- DND Inbound Calls and SMS — an extra setting for how the system handles incoming calls and texts.