📋 The main Teams list
You see a table of all teams that belong to your company.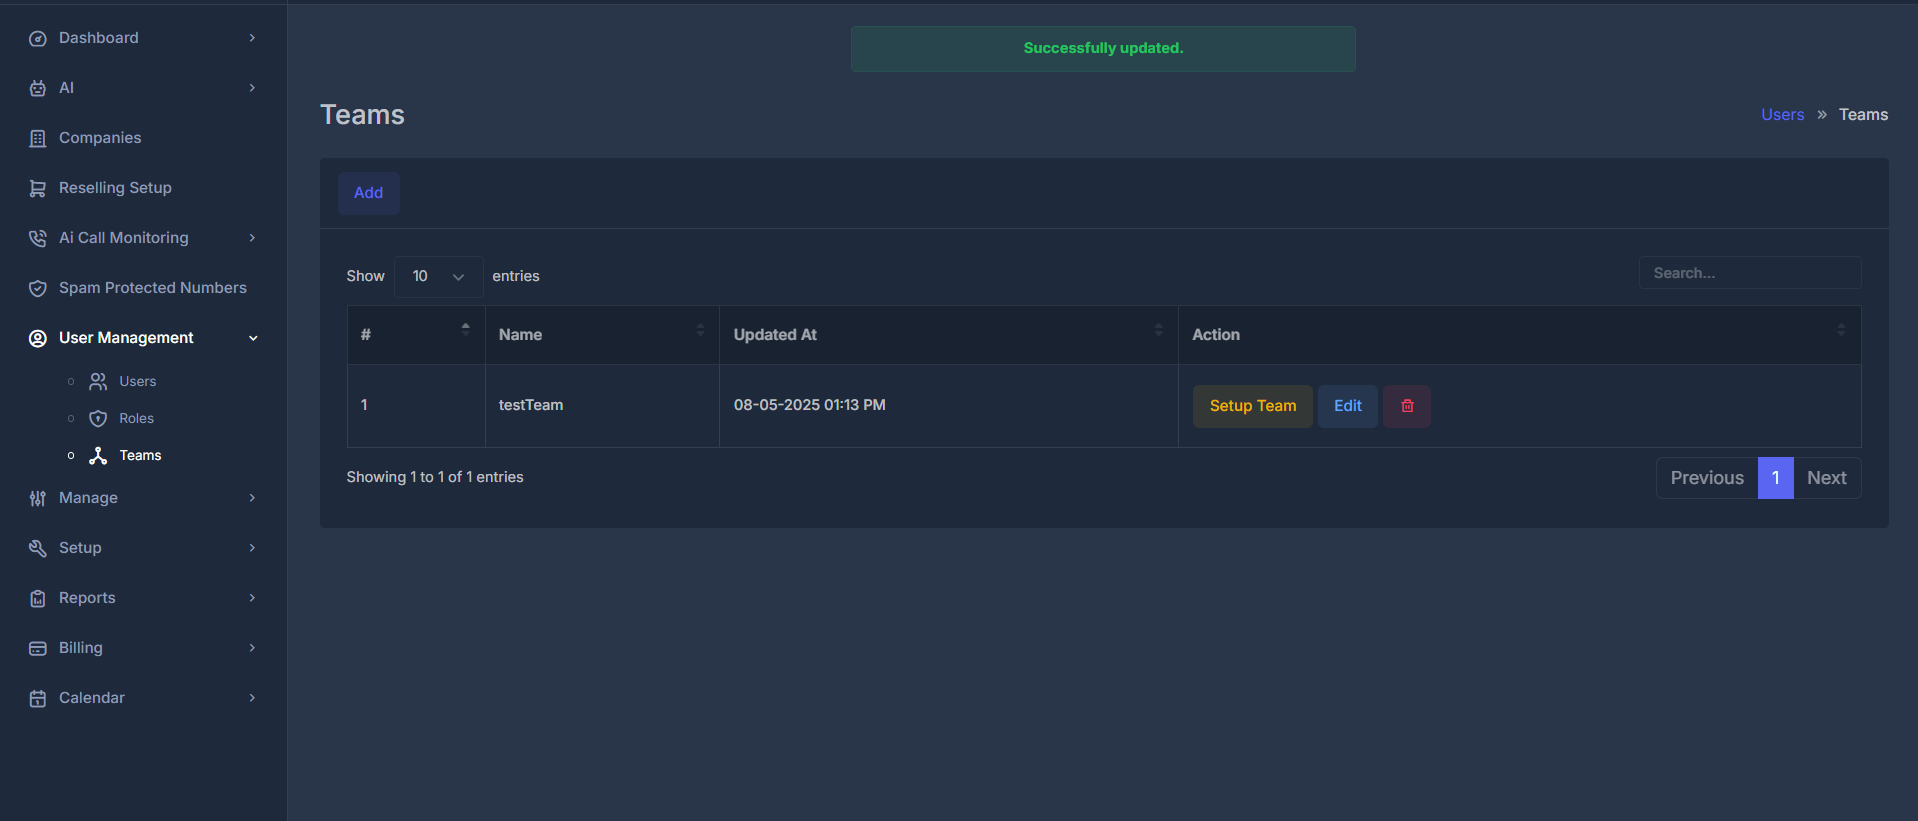
| What you see | What it means |
|---|---|
| # | Row number (1, 2, 3, …). |
| Name | The name you gave the team. |
| Updated At | The last time that team’s record was changed, shown in your own time zone (as set on your profile). |
| Action | Things you can do for that row (see below). |
➕ Adding a team
- Click Add. The list hides and a form appears.
- The form title reads Add Team.
- Fill in Name. A short hint next to the label says to enter a clear, descriptive name for the team.
- Click Submit. Another hint explains that this saves the team in the system.
✏️ Editing a team
- On the row for the team, click Edit. The list hides and the form appears with the title Edit Team.
- The Name field is filled with the current team name. You can change it and click Submit.
🗑️ Deleting a team
- Click the delete control on the row (trash icon).
- A confirmation asks if you are sure.
- If you confirm, that team is removed. You are returned to where you were, with a message that the record has been deleted.
🧩 Setting up who is on a team (“Setup Team”)
Setup Team opens a separate screen whose title is Assign Users to followed by the team’s name.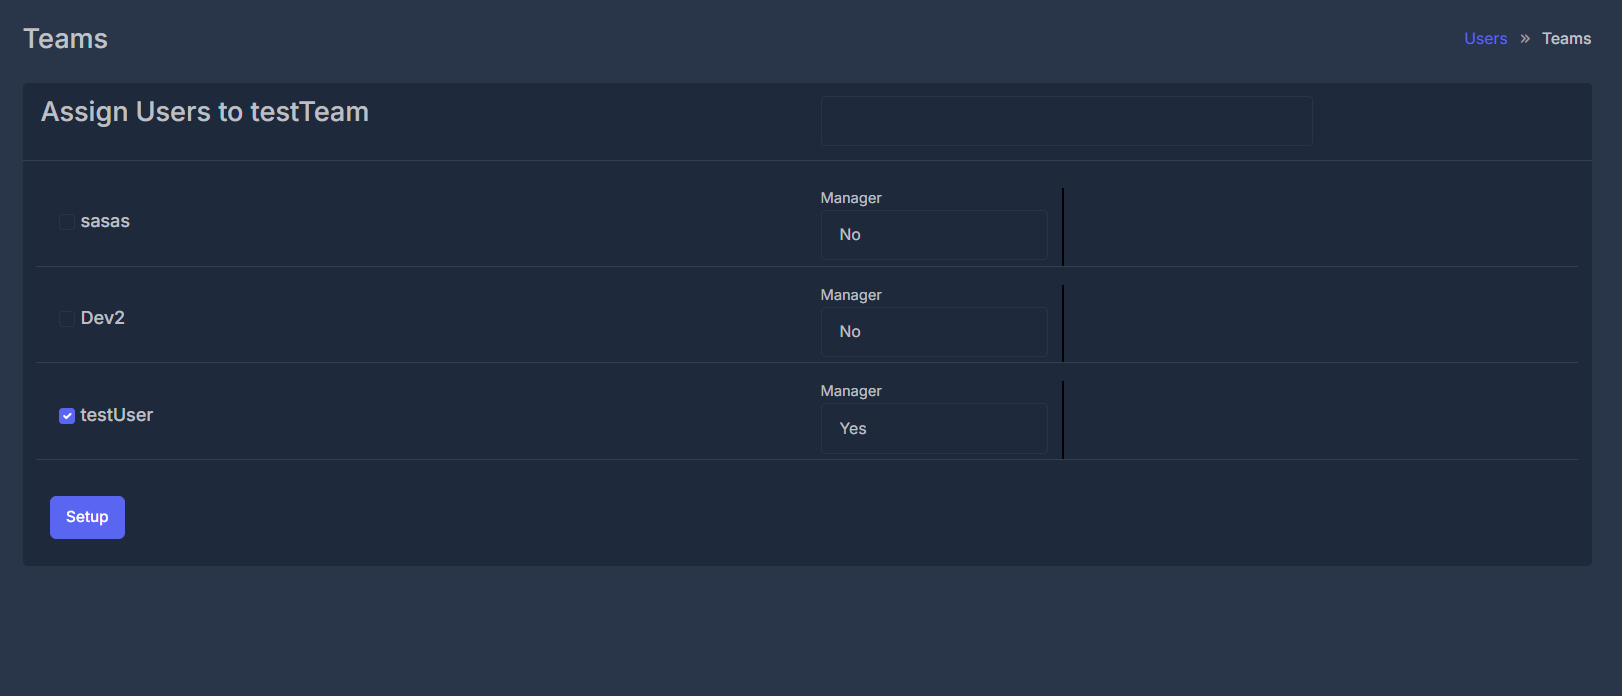
📝 What this screen does
- It lists every person in your company (not only people already on the team).
- For each person you can:
- Include them on the team — turn the option on next to their name, or leave it off to exclude them.
- Manager — choose Yes or No. This is separate from simply being on the team: you can be on the team without being marked as manager, or be marked as manager.
🚫 If nobody appears
The list only shows rows when there is at least one person in the company to show. If your company has no users in the system, you will not see any rows here.💾 What happens when you click Setup
The system replaces the team’s membership with exactly what you selected:- Anyone checked is on the team; their Manager choice (Yes / No) is stored for that team.
- Anyone not checked is not on the team after you save.