📋 The Roles list
The main screen is a table of all roles that belong to your organization. You do not see roles from other organizations.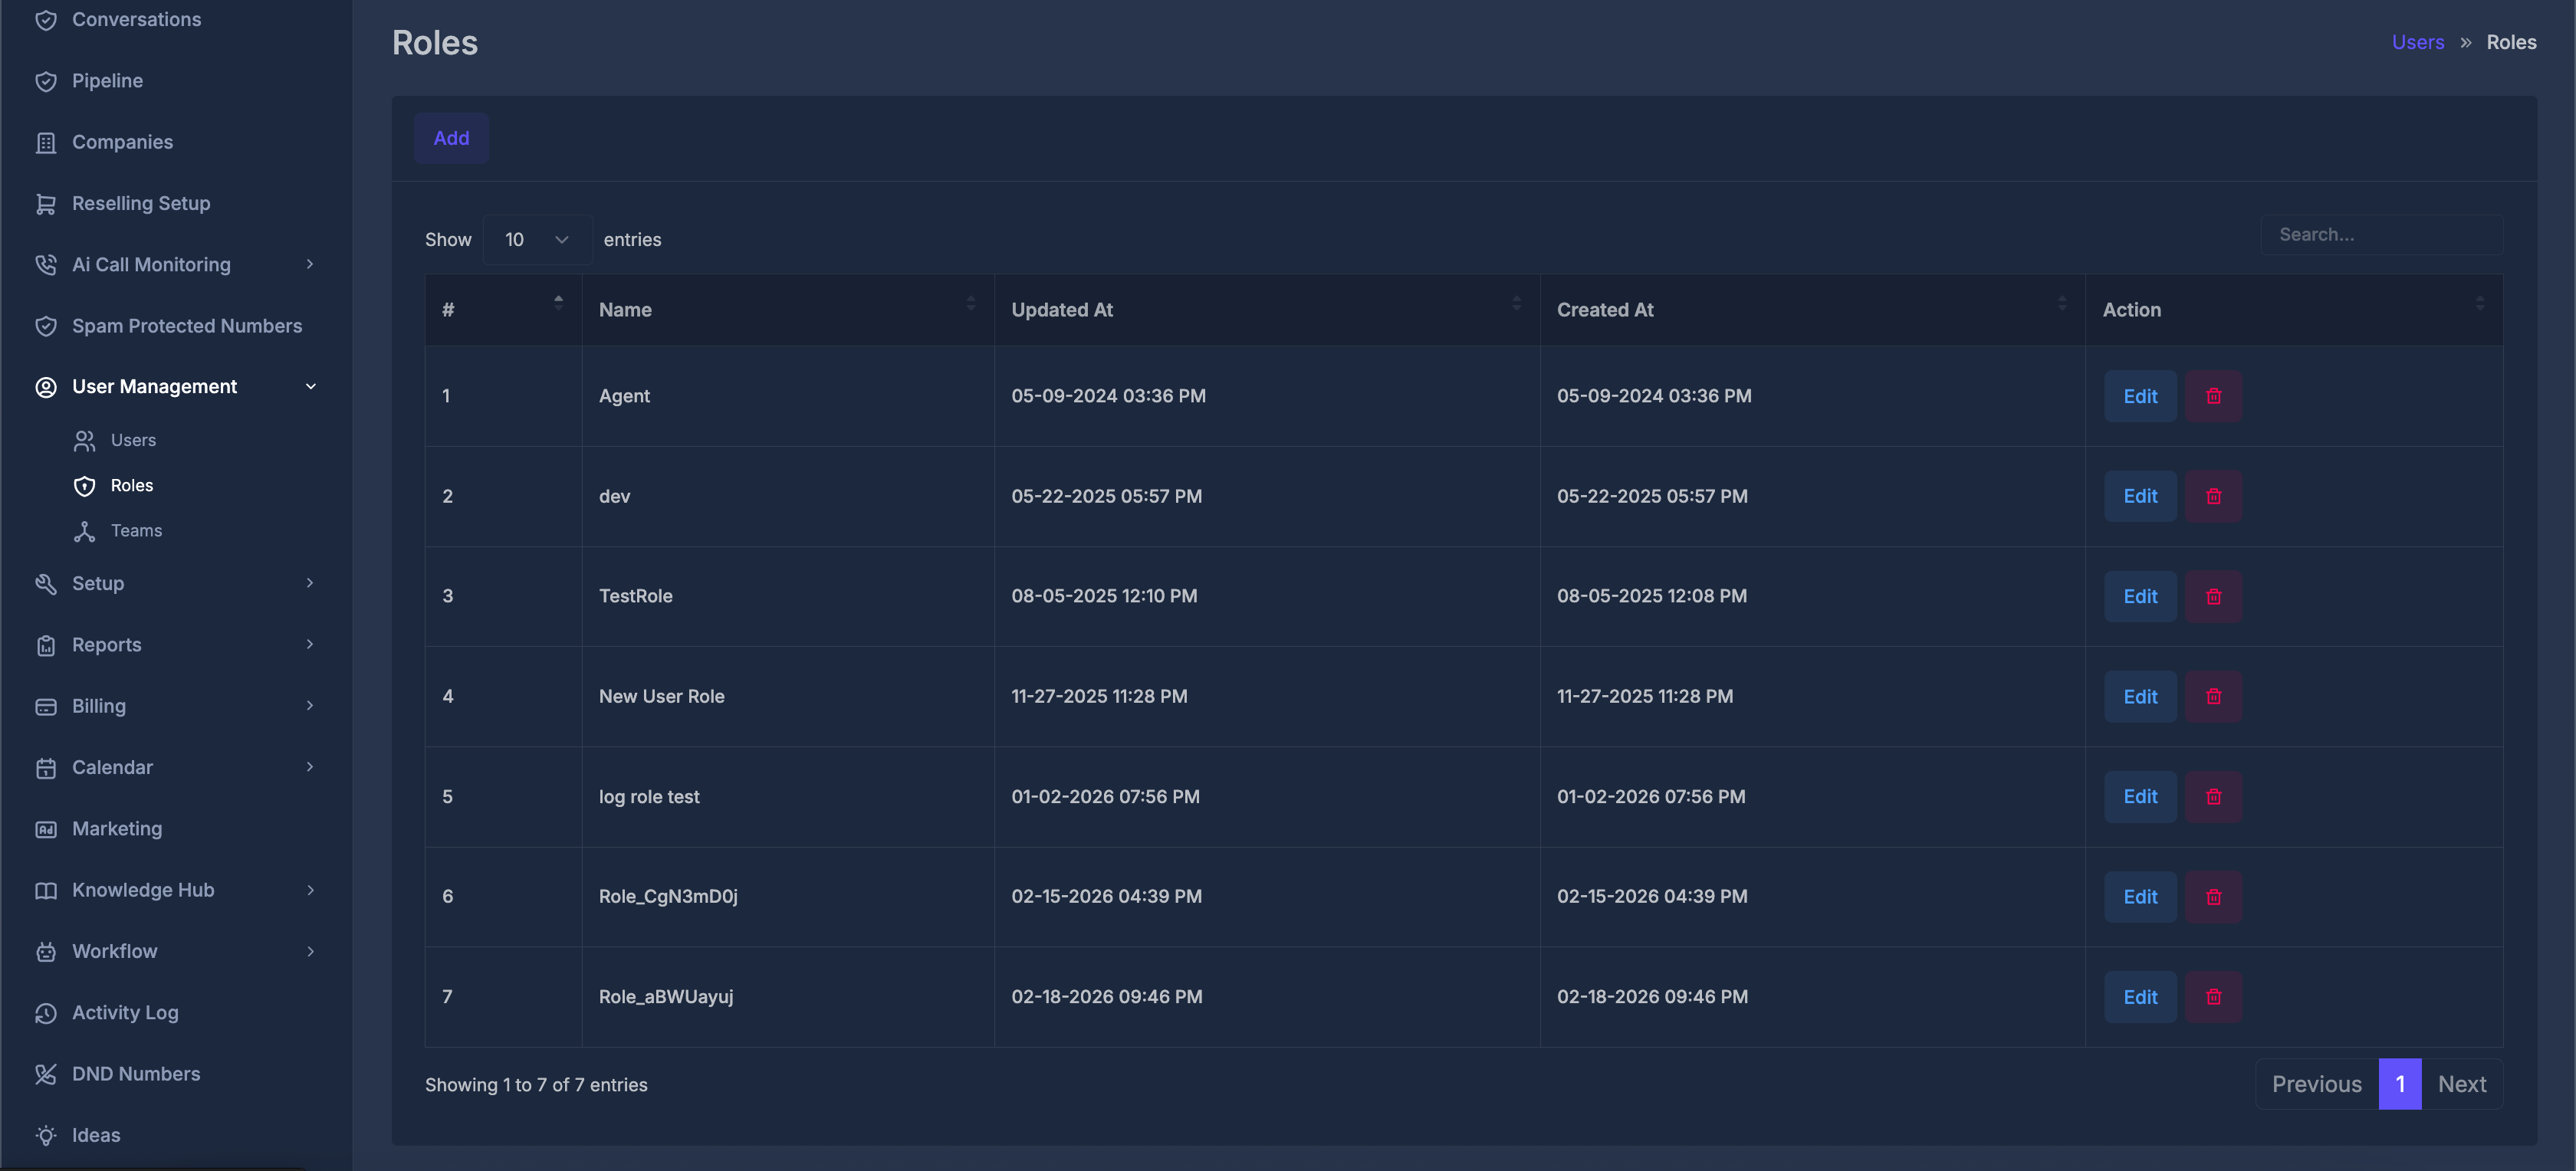
| Column | What it shows |
|---|---|
| # | Row number (1, 2, 3, …) for easy reference. |
| Name | The role’s display name—the same name you give when you create or rename the role. |
| Updated At | The last time this role was changed, shown in your time zone (the one set on your profile). |
| Created At | When the role was first added, also in your time zone. |
| Action | Shortcuts to change or remove the role (explained below). |
➕ Adding a new role
At the top of the list there is an Add control. What happens when you use Add- The system creates a new role right away with a temporary automatic name (it looks like Role_ followed by random characters). This avoids clashing with names you already use.
- You are taken straight to the Permissions screen for that new role so you can rename the role and choose what it may do.
✏️ Editing a role (opening Permissions)
In the list, each row has an Edit control under Action. Edit opens the Permissions page for that role. There you set the role’s name (if you want to change it) and which actions are allowed. Details for that page are in the section below.🗑️ Deleting a role
In the list, next to Edit, there is a delete control (trash icon).- The system asks you to confirm: “Are you sure?”
- If you confirm, the role is removed and you return to the Roles list with a message that the record was deleted.
- A Back control
- A title line that would read Add Role or Edit Role
- A Name field with short on-screen hints (question-mark style help)
- A Submit control
🛡️ The Permissions screen
Title: PermissionsTrail: Users → Role → Permissions This is where you name the role (or change the name) and choose exactly what that role may do across the product.
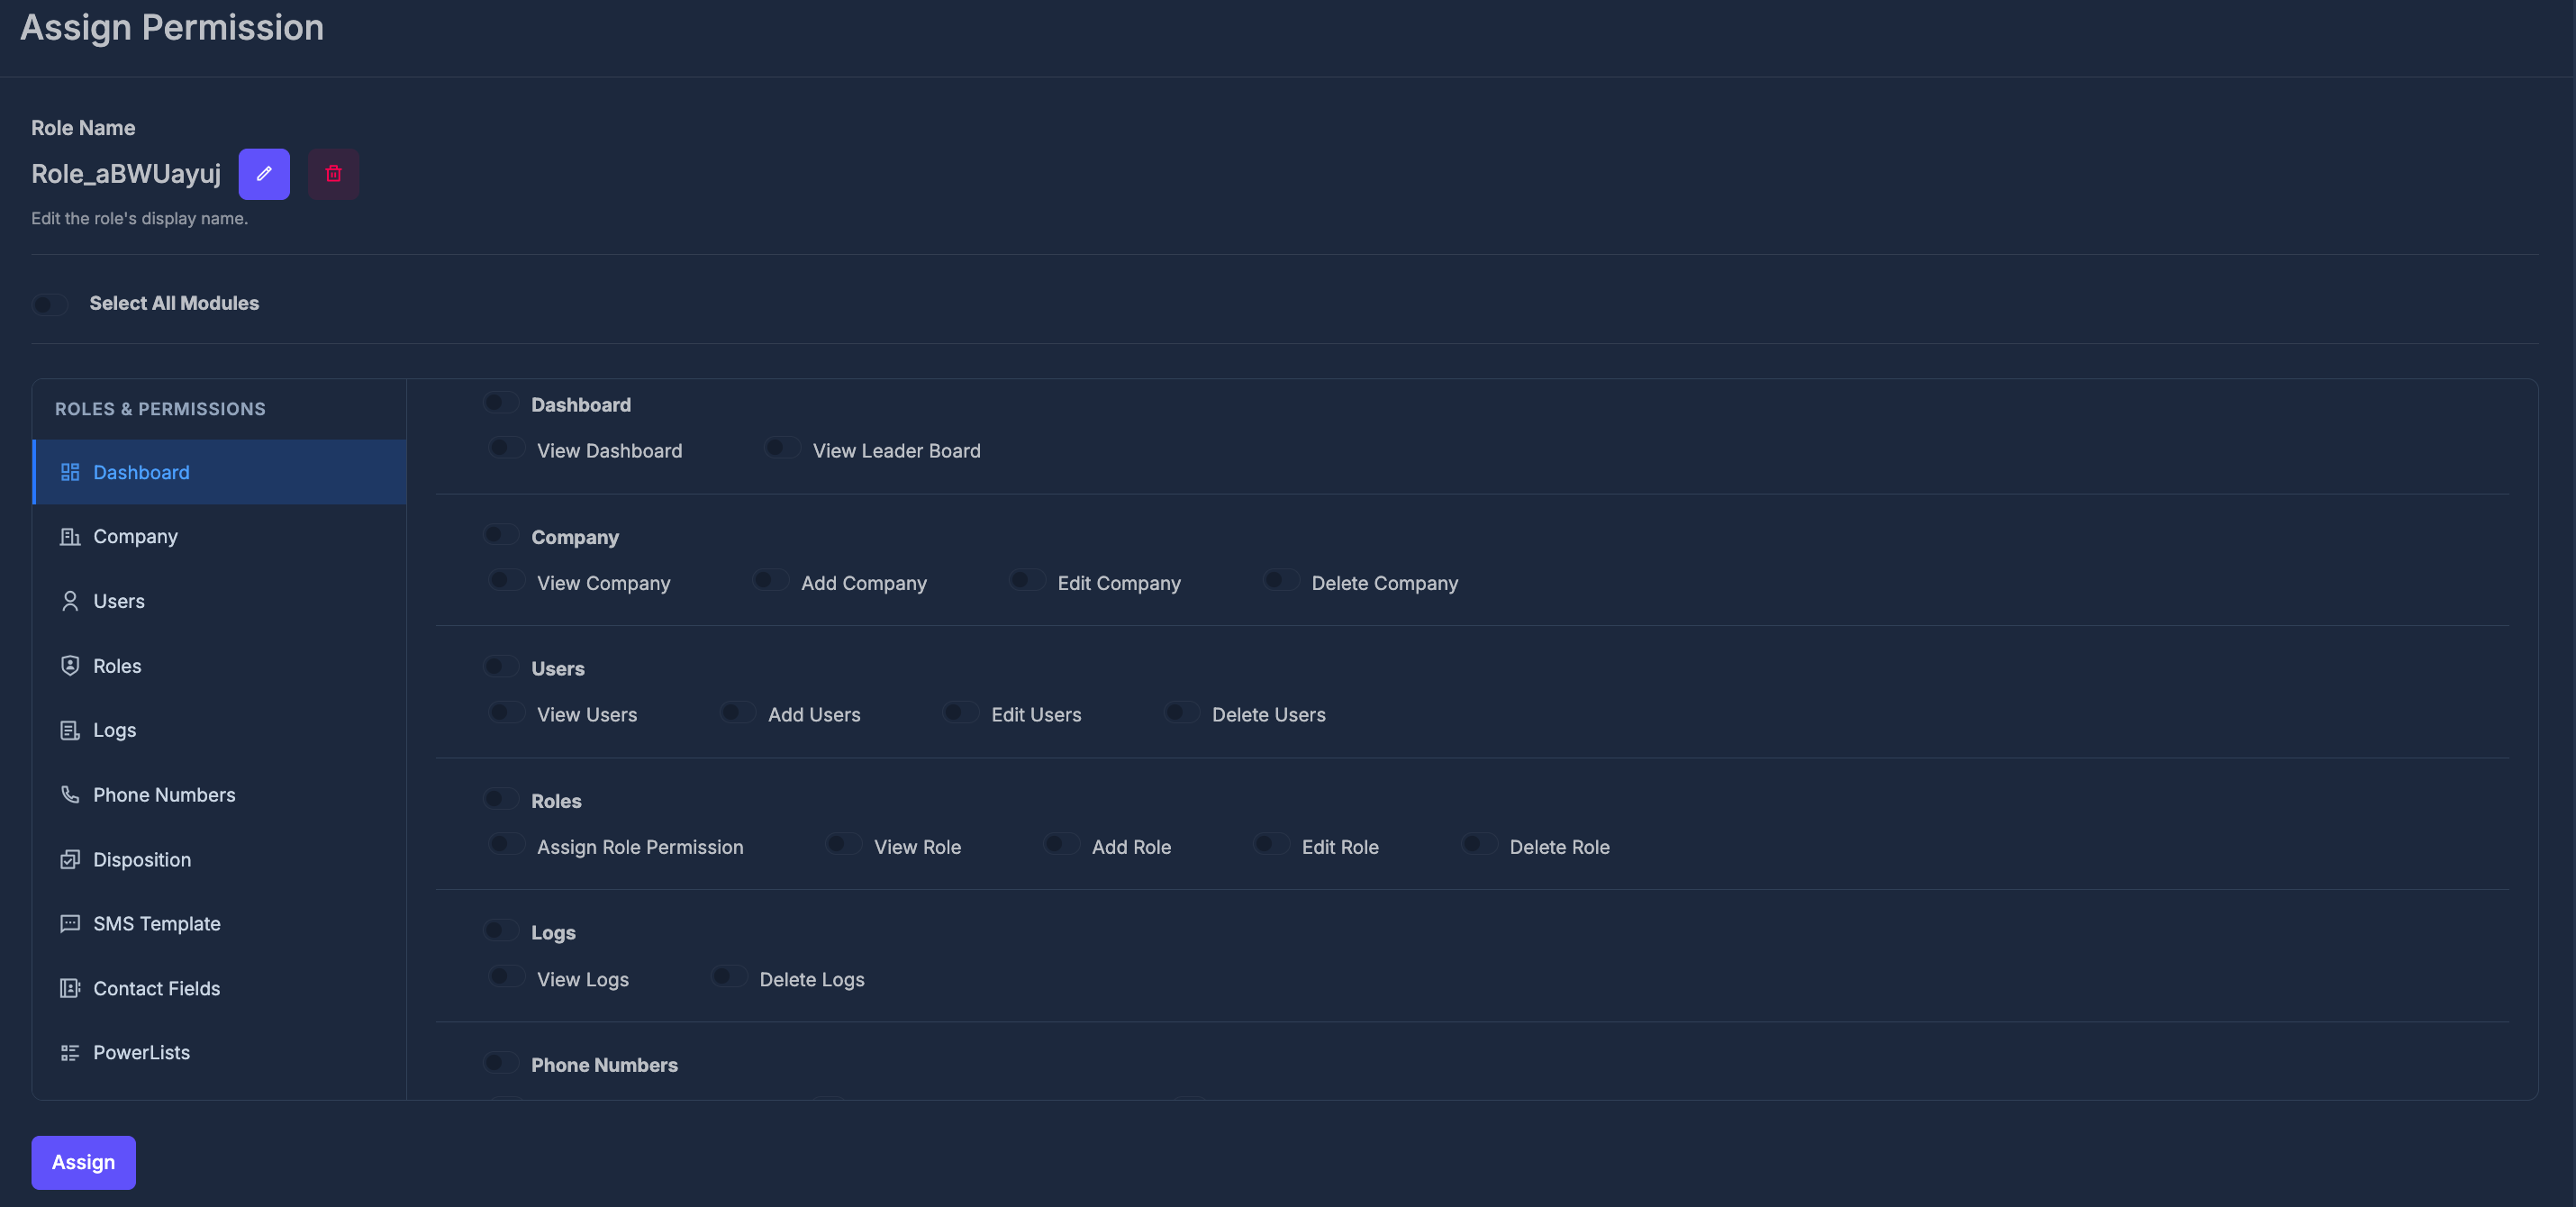
- The current name appears as plain text.
- Pencil — Opens an area where you can type a new name. Use Update to save that name immediately without leaving the page. The list on the main Roles screen will show this name after you return there.
- Trash — Deletes this role. You are asked to confirm: “Are you sure you want to delete this role?”
- The name cannot be empty; you’ll be told to enter a name if it’s blank.
- The name must not duplicate another role’s name in your organization. If it does, you’ll see an error message.
- On success, the text on screen updates and a brief success message may appear.
- Turn it on: Every module switch below turns on, and every individual permission under every module turns on.
- Turn it off: All of those switches turn off.
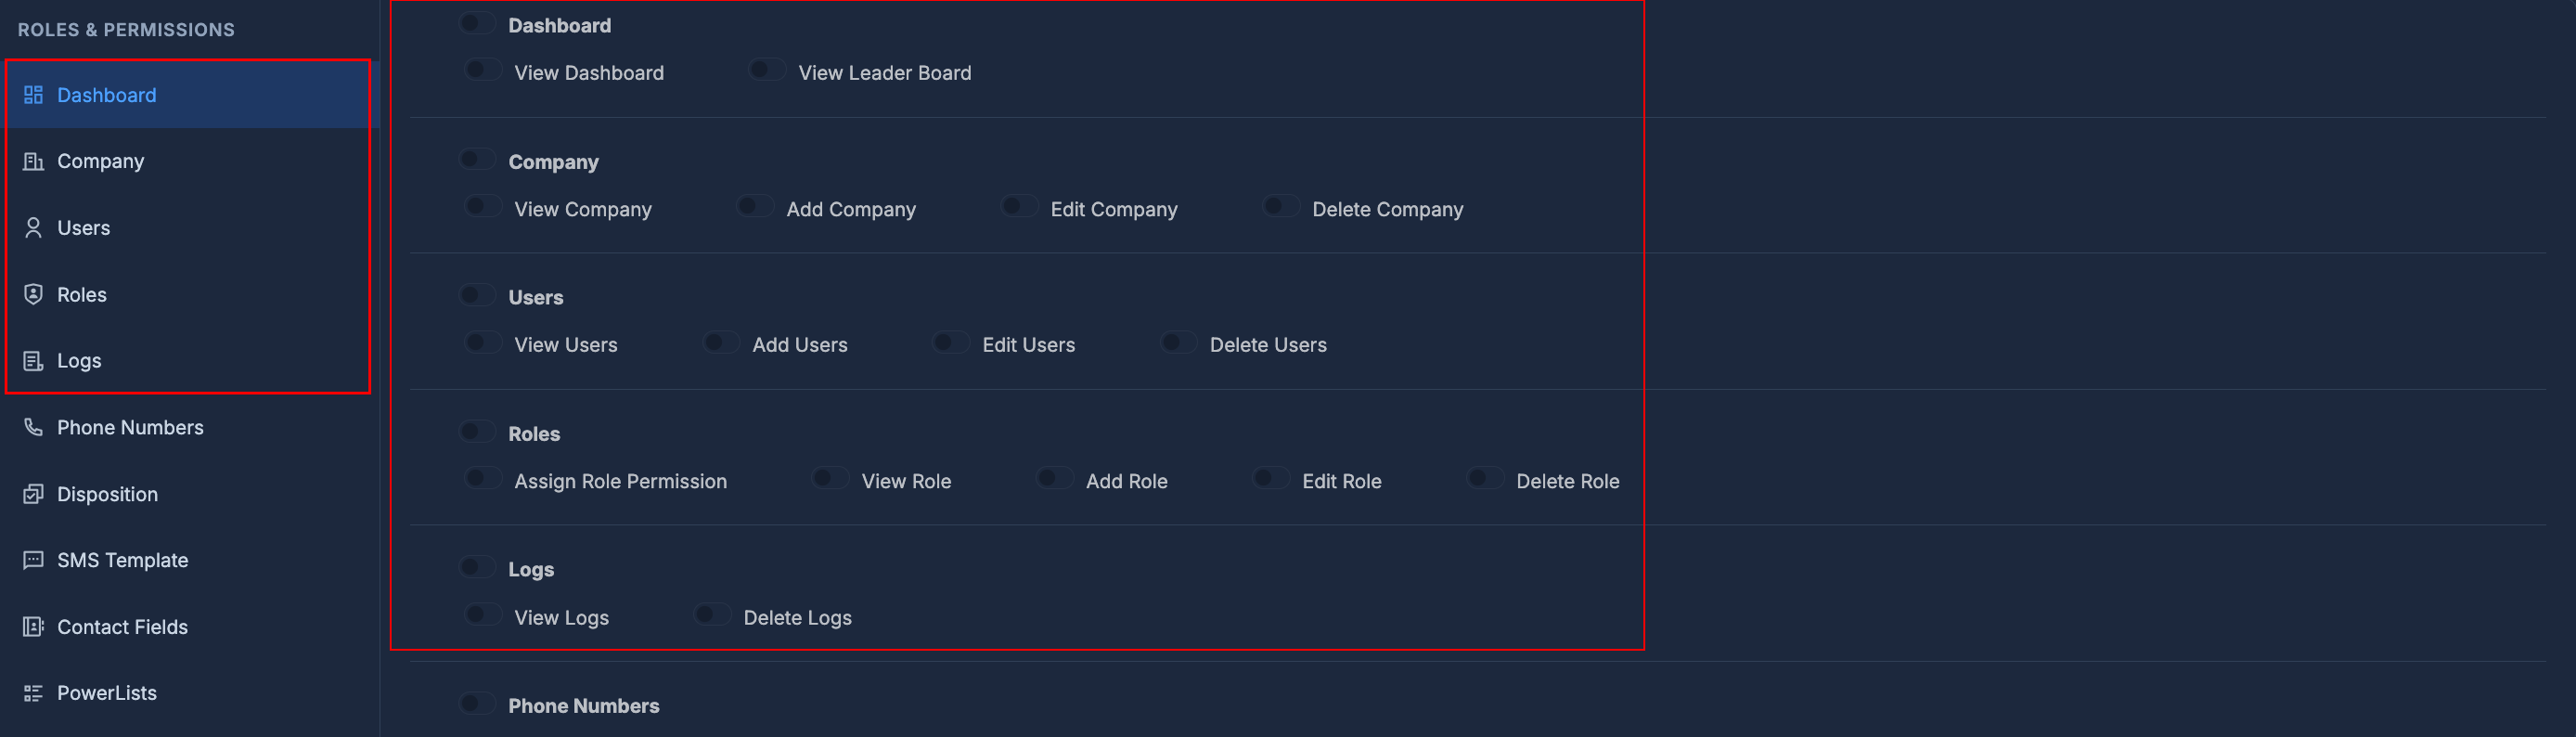
📑 Left menu and main panel
The screen is split into two parts: Left — “Roles & Permissions” menu- A vertical list of module names, each with an icon that matches the type of area (for example, dashboard, users, phone numbers, reports—icons vary by module name).
- Clicking a name highlights it and scrolls the right side so that module’s section is in view. This helps you jump around long lists without losing sight of the full page.
- Module switch — Labeled with the module name. Turning it on checks all permissions under that module. Turning it off clears all permissions under that module.
- Individual switches — One for each specific action in that module. You can turn actions on or off one by one.
💾 Saving your work — Assign
The Assign button sends your role name (including any change you made and synced via the hidden field) and all checked permissions to be saved.- If everything succeeds, you are returned to the Roles list with a success message.
- If something goes wrong (for example, a duplicate role name when saving), you may see a warning and stay on or return to a safe state; in a general error case you might see a short error style message.