PowerList Tag lets you create and manage labels for your PowerLists so teams can group lists consistently (for example by priority, campaign type, or follow-up state). Each tag can also be restricted by role, so only selected roles can view/use it.
 Use this page to maintain organization-wide PowerList tags.
A tag record includes:
Use this page to maintain organization-wide PowerList tags.
A tag record includes:
- Tag name
- optional role access links (Assign role View)
- created/updated timestamps
🗂️ Main list
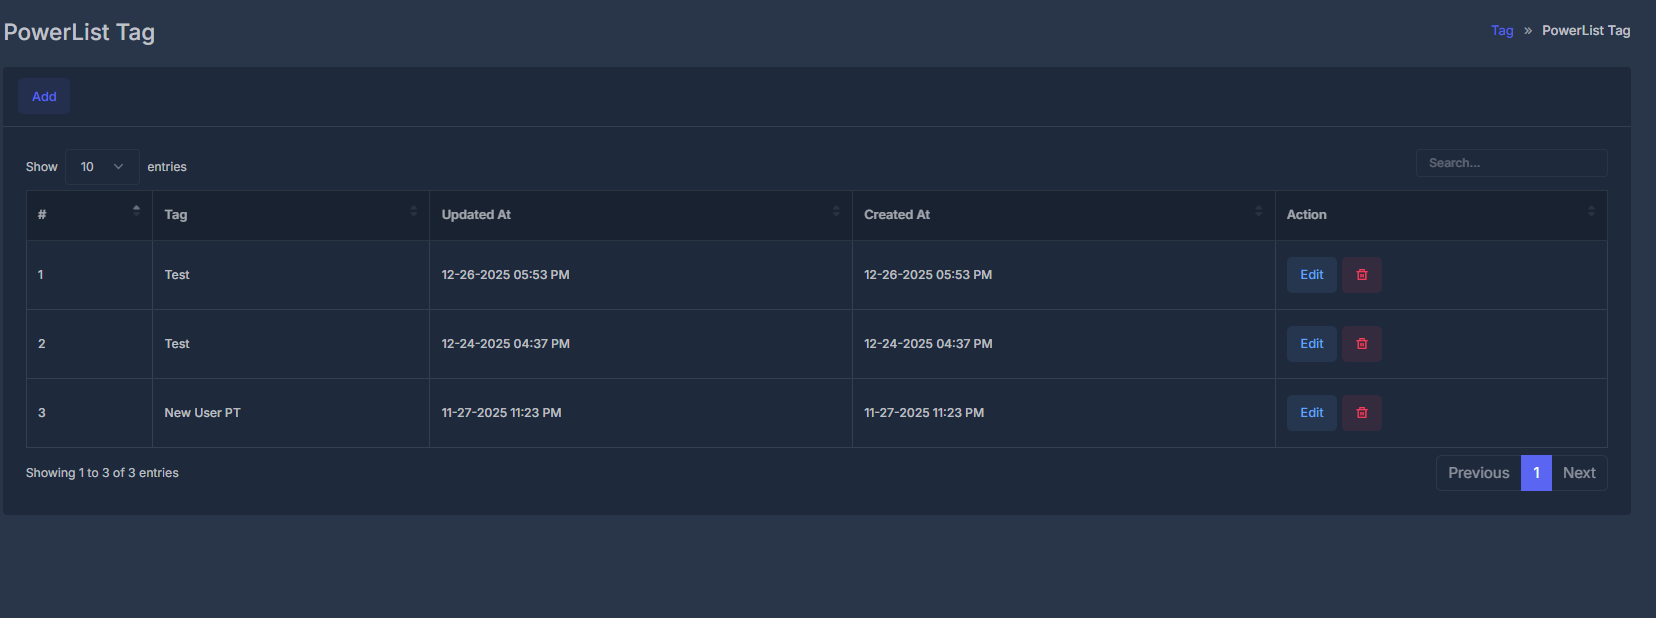
When you open the screen, you see a table of PowerList tags (typically newest first).
| Column | Meaning |
|---|
| # | Row number in current list view. |
| Tag | Tag label name. |
| Updated At | Last modified date/time (your timezone). |
| Created At | First created date/time (your timezone). |
| Action | Edit/delete controls for that row. |
⚙️ List controls
- Add opens create form.
- Search filters rows (
Search... placeholder).
- Pagination keeps long lists easy to scan (often 10 rows/page by default).
➕ Adding a new tag
- Click Add.
- List hides and Add PowerList Tag form opens.
- Fill fields.
- Click Submit.
While saving, a short message like Please wait. Action in process… may appear.
- On success: green confirmation + page refresh/list reload.
- On failure: red message with reason.
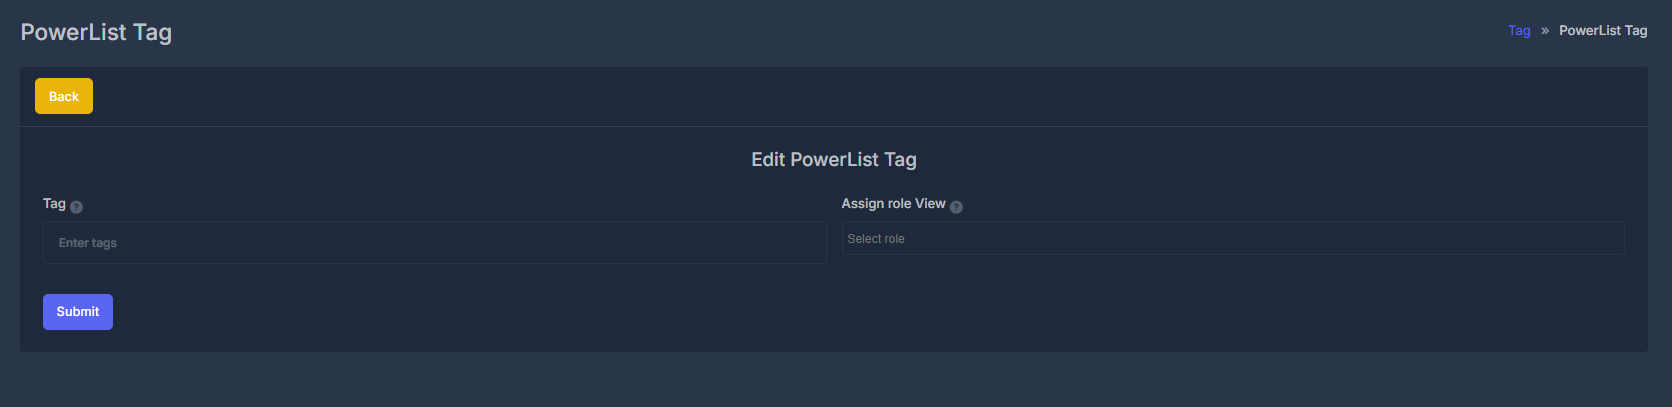
✏️ Editing a tag
- Click Edit in the row.
- Edit PowerList Tag form opens with existing values loaded.
- Update Tag and/or Assign role View.
- Click Submit.
Save behavior is same as Add (wait message, success/error, then list refresh on success).
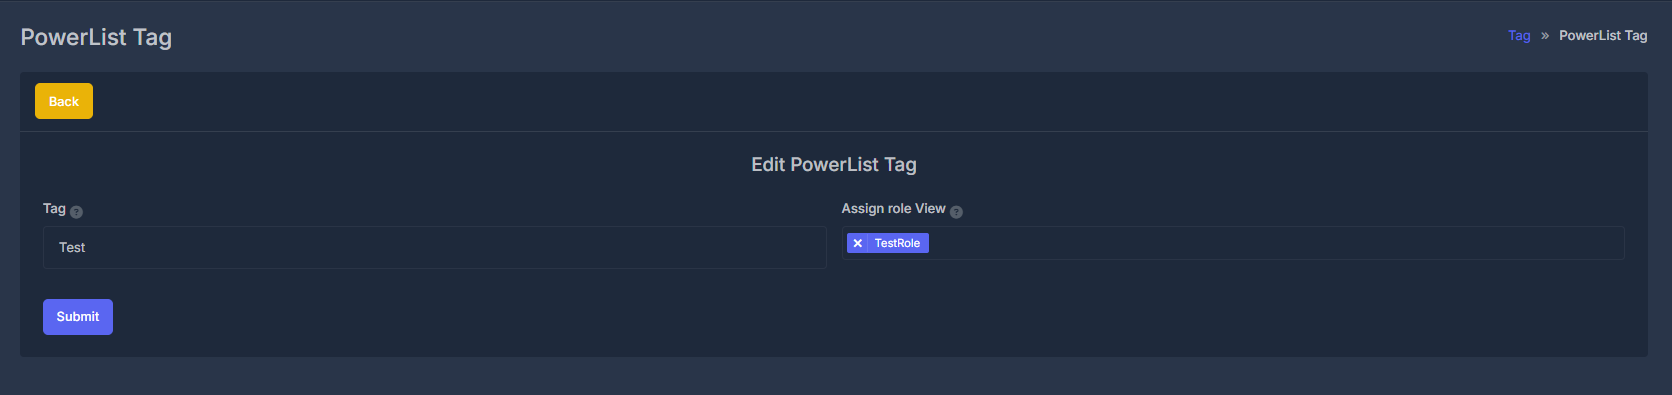 🏷️ Tag (required)
- The visible label name used across PowerList screens.
- Required before submit.
- Max length is typically up to 100 characters.
- Help tooltip explains this field is for categorizing/organizing PowerLists.
👥 Assign role View
- Multi-select list of organization roles.
- Choose one or more roles allowed to view/use this tag.
- Searchable picker makes long role lists easier.
- Help text explains multi-role access behavior.
🗑️ Deleting a tag
- Click row trash icon.
- Confirm prompt (Are you sure?).
If successful:
- tag is removed,
- linked role assignments for that tag are removed,
- list reloads with success message.
If not found or another error occurs, an error message appears.
Delete is permanent for that tag record. Confirm before deleting tags used in active PowerList workflows.