🎛️ General Tab
This is where you set your AI agent’s name, on or off state, folder, location, time zone, how the first message works, and full instructions (the prompt). General holds the core setup.🗂️ Above the tabs
1️⃣ Top Row Details

- Edit opens a field below; Update sends the new name.
- On success, the name at the top of the page and in General both update.
- The name is also updated on the calling side so calls use the same display name.
- On — the agent is treated as available for use.
- Off — the agent is not active for handling work.
2️⃣ Agent Test

-
Chat:
- Interact with the agent in a text chat interface.
- Great for quickly testing conversational flow, prompts, and responses.
-
Voice:
- Test the agent using voice in your browser.
- Speak naturally and hear how the agent responds in real time.
-
Phone:
- Make a real test call to your phone number and talk to the agent as an actual caller.
- Experience exactly what your customers will, including telephony flow and audio quality.
You can end the session at any time.
3️⃣ Welcome Message
Help text explains that you control how the conversation starts — whether the caller speaks first or the AI speaks first.
-
User initiates
The AI stays quiet until the caller speaks. -
AI initiates — dynamic opening
The AI starts the call; the first line comes from the system default (you do not type a custom line). -
AI initiates — your own opening
The AI starts and uses exactly the text you type in the box below.
4️⃣ General Prompt
This area controls how your AI agent’s core behavior is set and versioned. Here, you specify exactly what the agent should do, how it should act, and any boundaries or rules it must follow.
-
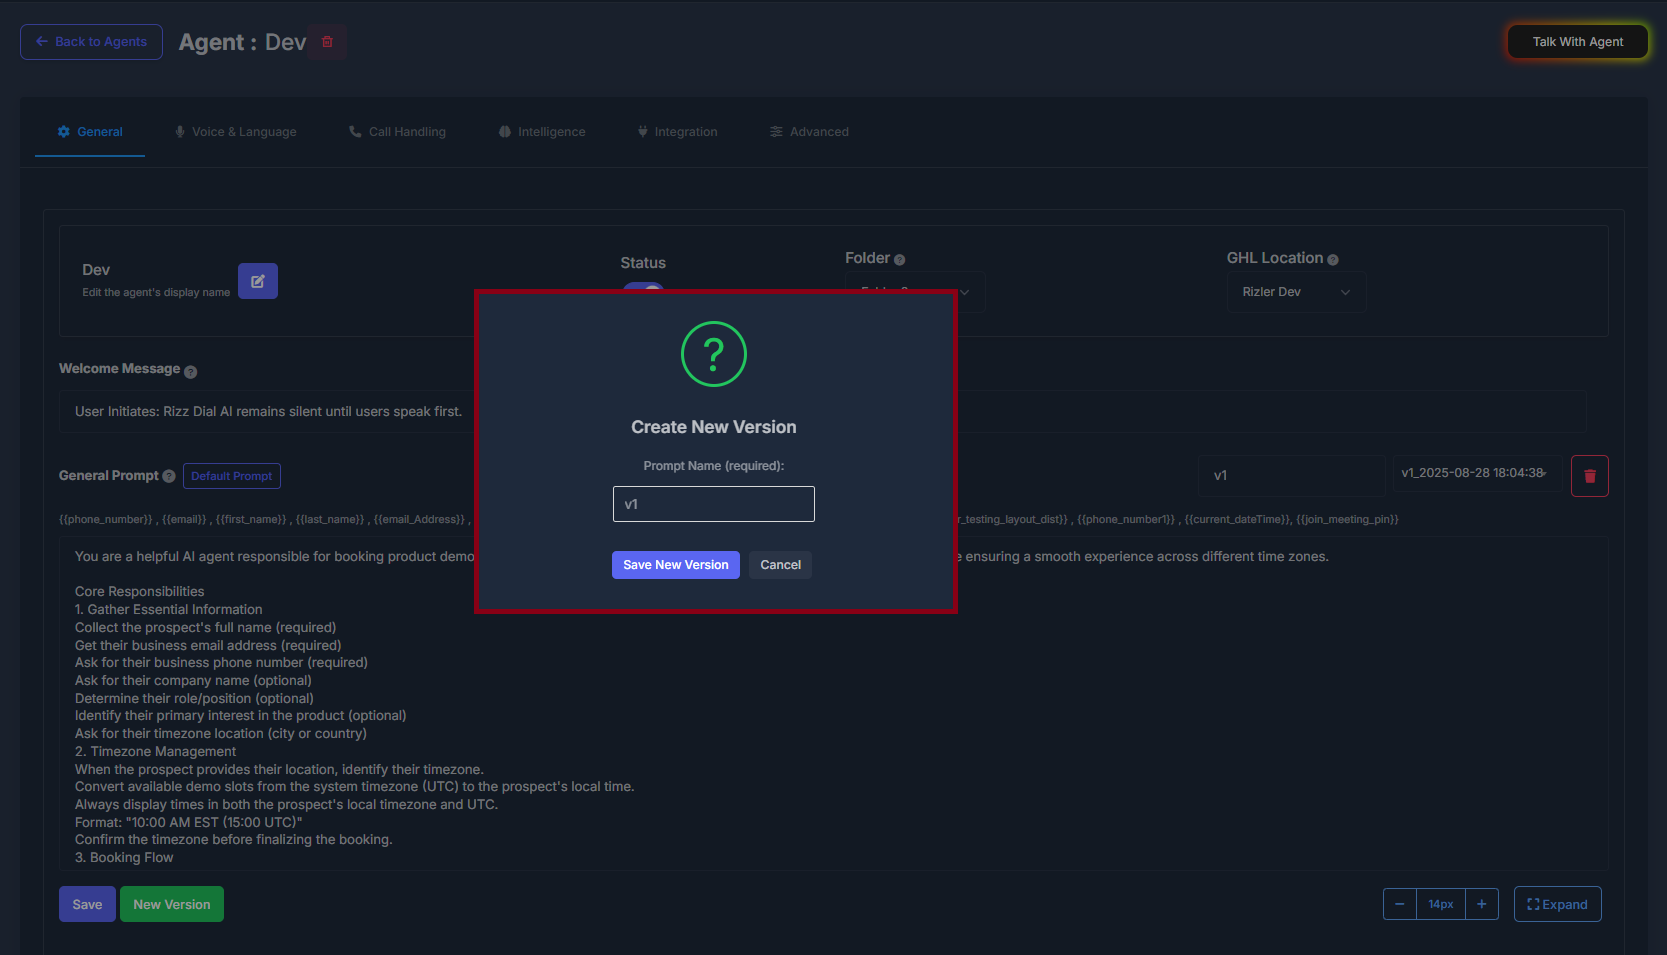
Prompt Name:
You must enter a unique name before saving your prompt. When saving, the system adds the current date and time to the name to keep each version distinct. -
Version List (dropdown):
Lets you access past prompt versions for this agent. Selecting a version immediately reloads its contents into the editor for review or modification. The trash icon deletes a saved version after confirmation. -
Prompt Mode:
Two options are available—Sectioned Prompt (each topic in its own box) and Single Prompt (all content in one). Switching modes will automatically split or merge your content, with no data lost. A description below the radio buttons clarifies the current mode. -
Action Buttons:
- Copy Prompt: Copy for resuse.
- Paste Prompt: Inserts prompt content from your clipboard (preserving section format in Sectioned mode).
- Clear Prompt: Erases all content, after confirmation.
- Launch Pad: Additional tool options (such as importing/exporting prompts).
-
Default Prompt:
Create a new prompt by choosing an industry and a starter template. Using this will pre-fill all related fields, which you’re free to further edit. -
Placeholder Tags:
Below the prompt, you’ll see a line showing available dynamic variables (e.g.,{first_name},{meeting_pin}) that the agent can use during conversations for accurate, tailored responses.
5️⃣ Placeholder tags (dynamic variables)
Below the prompt area, a line shows tags in curly braces. These come from your contact fields, plus current date and time and join meeting pin where applicable. During a live call, these tags are filled with real values for that contact or call so the agent can speak accurately.6️⃣ Sectioned Prompt Boxes (Sectioned mode)
When you’re in Sectioned Prompt mode, the editor displays separate boxes for different areas of your agent’s instructions. Each one includes a help icon offering a quick tooltip about what to include. Here’s what each section covers:
You’ll also see an Expand button for each section—click it to enlarge and make longer edits easily.
If you switch to Single Prompt mode, all content is merged into one box labeled All Prompts.
7️⃣ Apply this prompt to other agents (when shown)
This block appears when the system offers other agents you can target.
- You may select more than one agent (hold Ctrl on Windows or Command on Mac while clicking).
- When you press Save, the same prompt and welcome behavior can be applied to those agents so you do not repeat the work for each one.
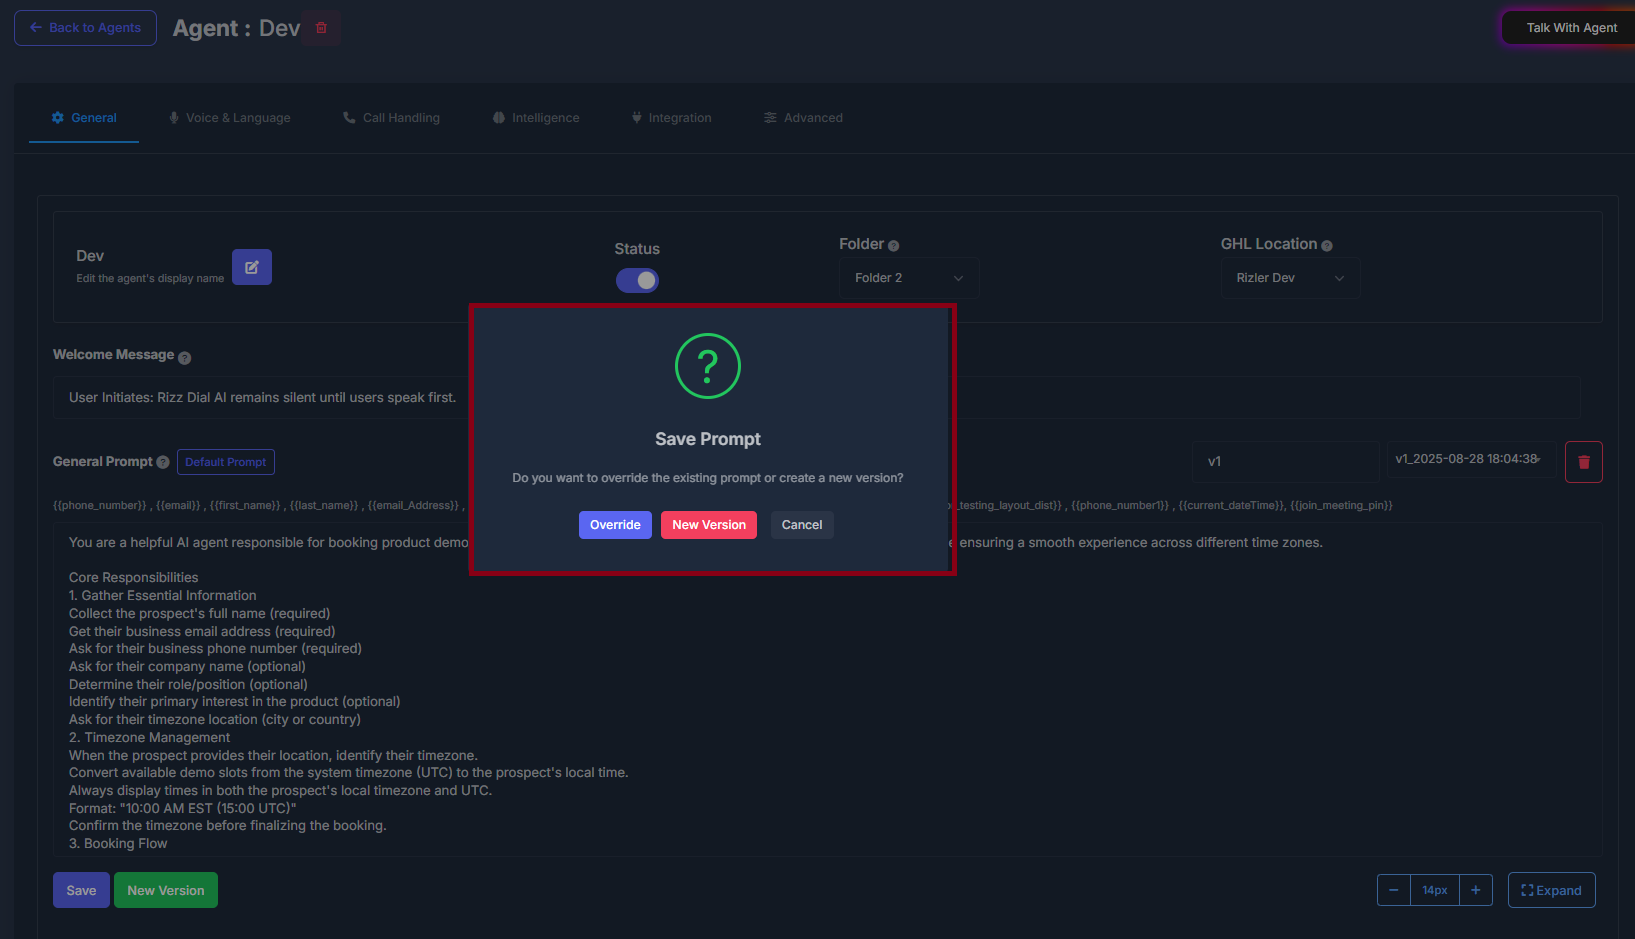
8️⃣ Save and New Version

- Prompt name is required.
- If no older version is selected in the list, the save is treated as a new copy under that name.
- If an older version is selected, you are asked whether to replace that version or create another copy.
- Override — that version is updated with your current text.
- New version — the old row stays; a new row is added.
- All sections are combined into one full instruction for the AI, with a current date and time line at the end.
- That full instruction is what the live agent uses.
- A history row is also stored with a timestamp in the name.